Utah National Parks in a Nutshell (July 2013)

Canyonlands National Park

This just in! Camping is in tents! (See previous post.)

Hi everyone! It’s been awhile since my last serious update, and a lot has happened!

My blog just turned 4!

So, a few days ago, wordpress just let me know some big news! (Yes, we’re bff’s and talk often.) My blog turned four years old… That’s a big deal. And just like having real kids, that’s when you really need to start taking care of them.

My blog has a name!

Again, just like any four year old, you gotta name them when they get to a certain age. (For legal reasons, I guess.) Maybe you’ve already noticed, but I’ve changed it from it’s initial “jletookthis.wordpress.com” to a sleeker, sexier domain name… http://www.seldomlyupdated.com. Yeah, that’s right. It’s a strangely fitting and apropos. It also gives me an opportunity to use the word “apropos”.

Raise the roof! Our National Parks have reopened!

So, congress congressed and they were somehow able to pull their heads out of their respective (yet somehow, less respectable) asses. They  raised the debt ceiling, and our economy didn’t spiral out of control and we can go on living for a few more months and enjoy our reopened parks.

UTAH in 15!

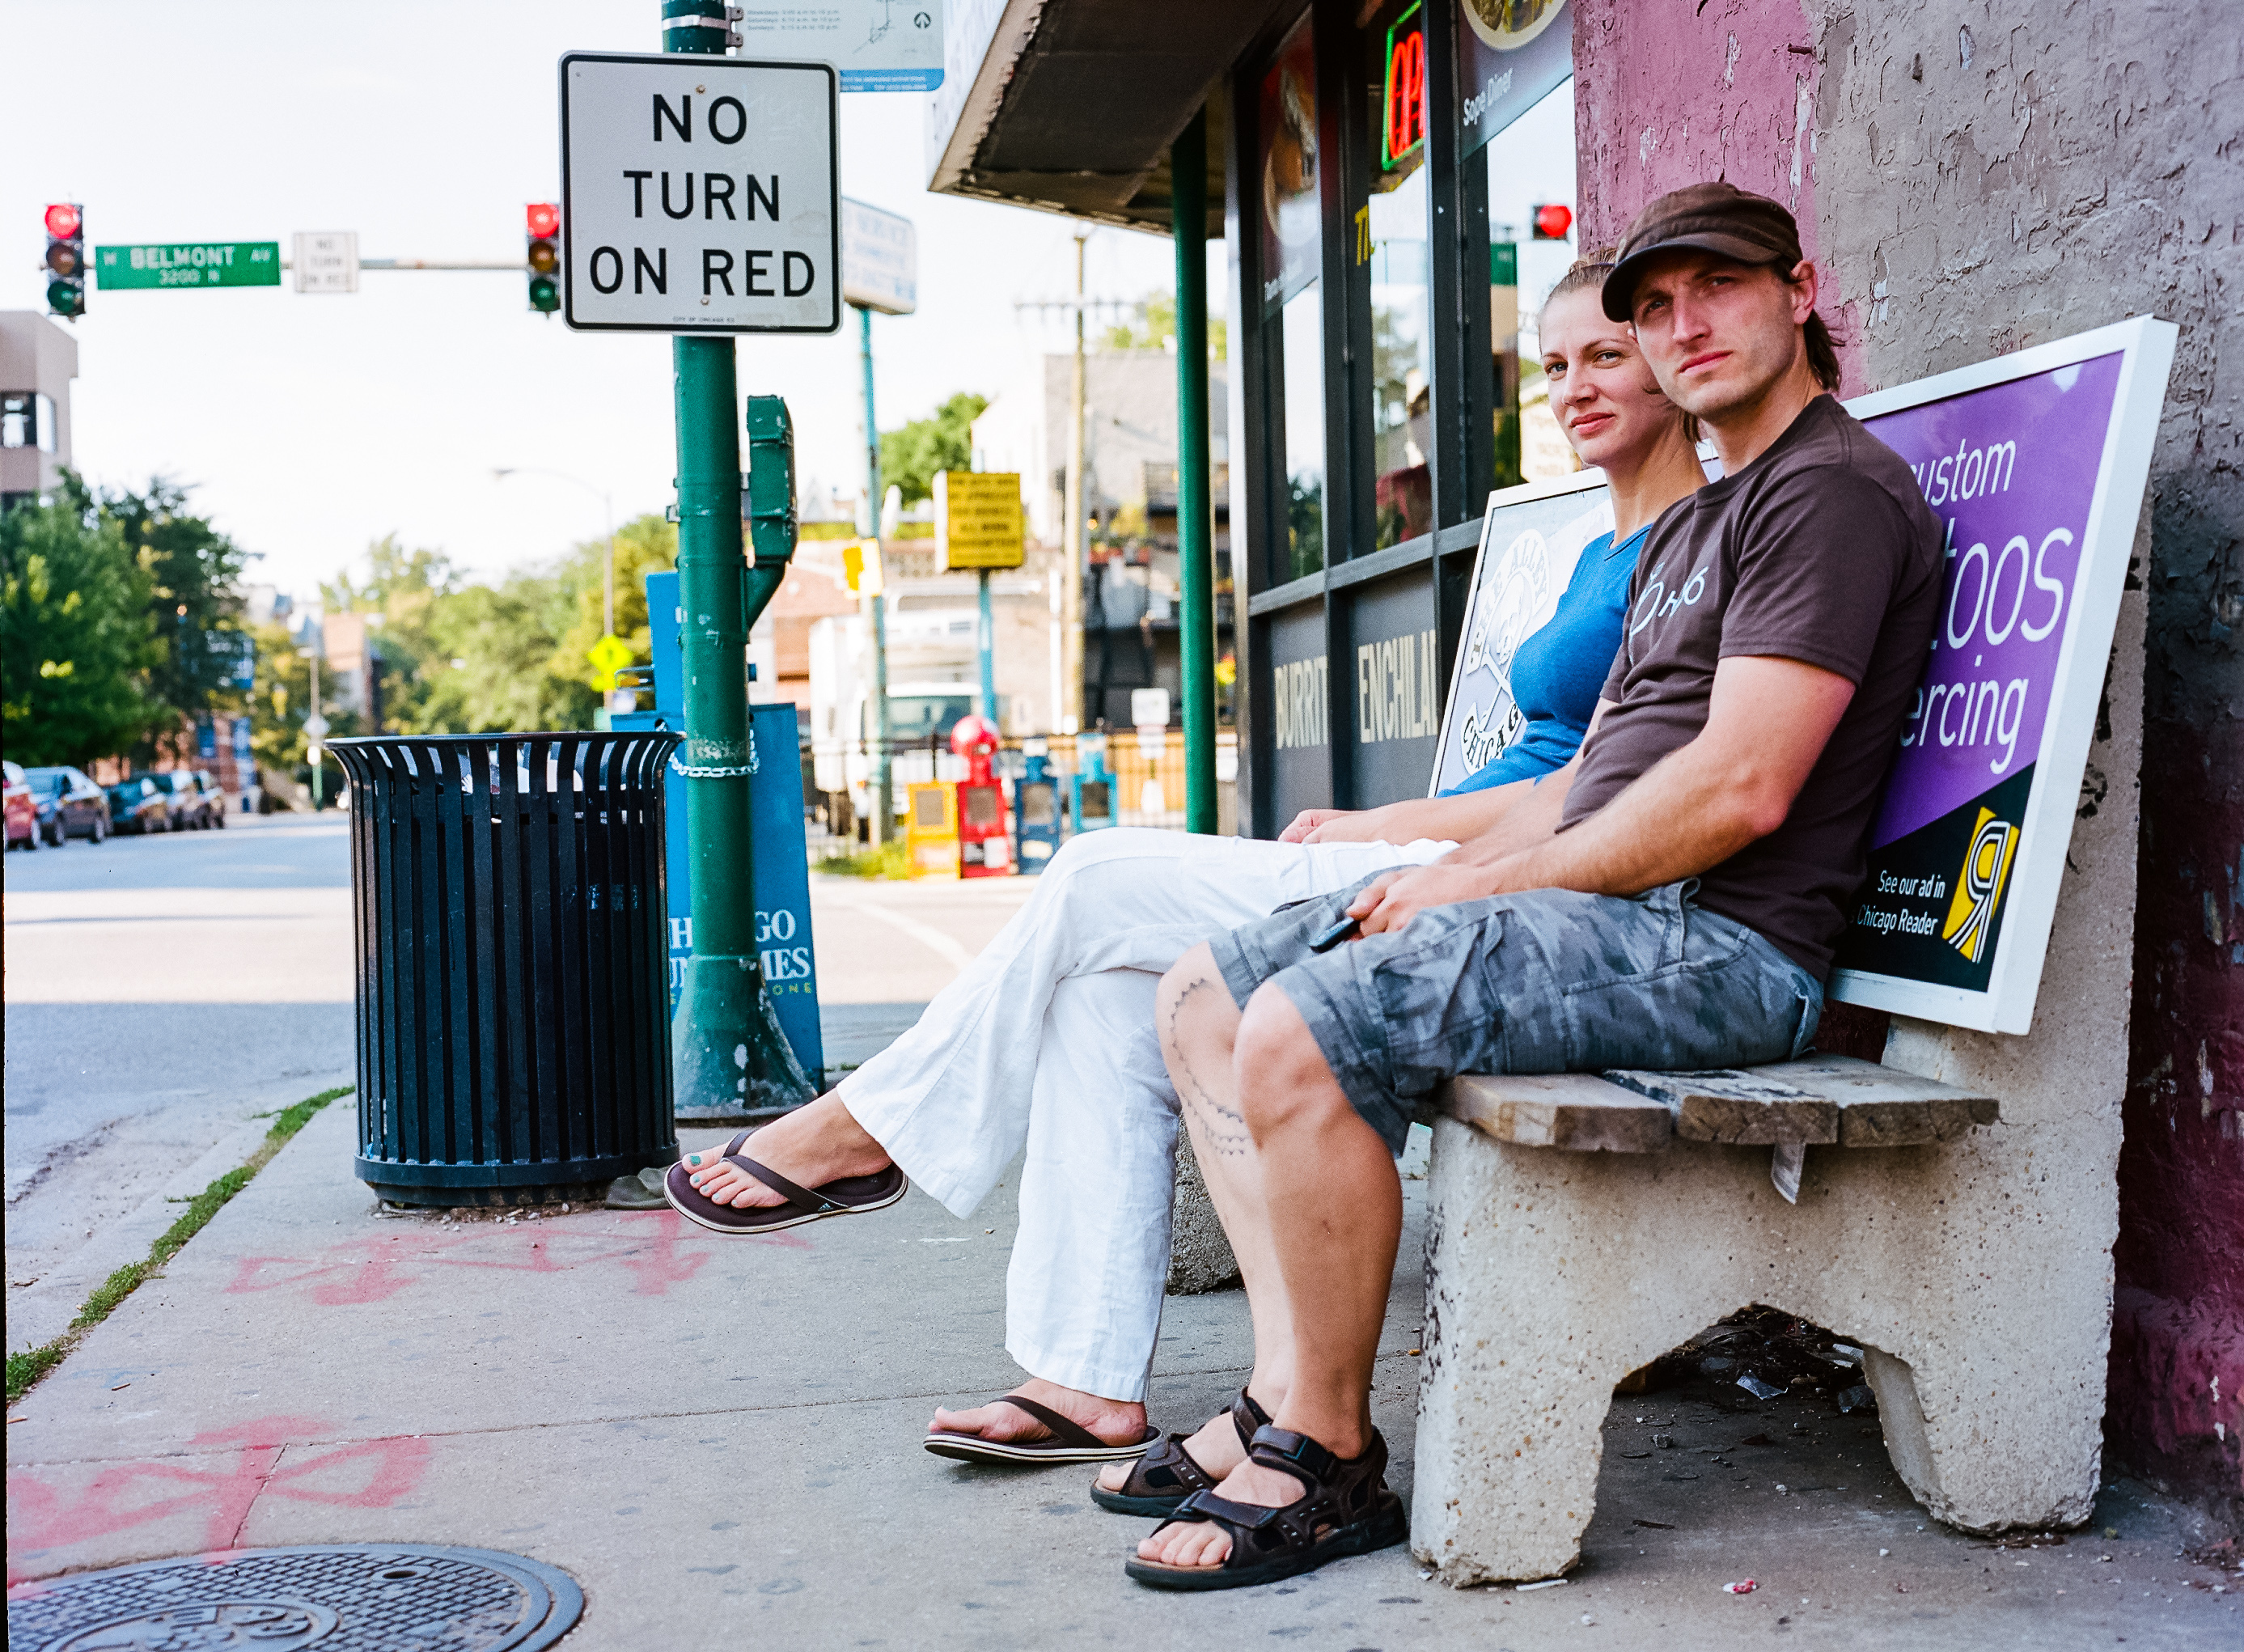
So, in honor of the National parks reopening, I thought I would post a video I had put together from my trip to the big national parks in Utah this summer. My brother, his friend and I (see photo above), took a week to hit Mesa Verde, Canyonlands, Arches, Capitol Reef, Bryce, and Zion. With all the photos I took, I decided to put it together into a pseudo-timelapse travel slideshow/video. Although I didn’t pre-plan it, I think it turned out pretty well.  So, if you’re keen to spend a some time on a whirlwind trip hiking and zooming past some beautiful scenery, feel free to take a look. Enjoy! (Also, it’s best viewed in HD on Vimeo.)

My Top Four Reasons to go Camping…

Stars over Mesa Verde…

Reason #4: Mesa Verde National Park

Light Shows over Bluffs

Reason #3: The campsite outside of Arches National Park

Fresh Air

Reason #2: The Campsite at the Calf Creek Campground

Taking Photos of Your Tent Instead of Sleeping In It

Reason #1: The Sunset Campground at Bryce Canyon National Park

More on Star Trails…

Wacousta Time Lapse Stacked


HAPPY (LUNAR) NEW YEAR!

A few weeks ago, I went back to visit my parents in Michigan for a weekend, and spend some quality time with them for the Lunar New Year (a.k.a. Tet). In addition to the good food, and the spending time with the parents, another one of the benefits of leaving Chicago is the ability to get away from the light pollution. Granted, it’s great living in a big city, where street lights allow you to see where you are going, and give you some feeling of security at night, but if you’re trying to look up and see the stars, it’s no bueno, as they say. All those bright lights reflect back into the sky, and diffract in the atmosphere, making it much more difficult for the already dim star light to find it’s way to our peepers (a.k.a. eyeballs). In any case, using the Photographer’s Ephemeris app, I was able to find the times of the sunset and the moonset, and then using the Star Walk app, figured out which direction to point my camera. After getting the settings dialed in, I set up my camera to manual, using a remote timer to take 99 shots. 16mm, F/5.6, 20s at ISO 1600. And just like with a RonCo rotisserie cooker, I just set it and… FORGET IT! Well, not quite, I still hung around out in the cold for about 40 minutes trying to stay warm as my camera fired away.

The eventual shots I took, converted to jpeg, and imported into Adobe Premiere Pro to turn into this 9 second timelapse (Best viewed in 1080p, fullscreen, if possible).

It’s kind of crazy how many shots you need to take to turn into a timelapse video of a respectable length.

So now, you’re probably wondering, what does this video have to do with star trails? Well, I’m glad you asked. Previously, I would shoot with low ISO, small aperture, and a long shutter speed to get the star trails. This time, I went with a different method. Taking a large number of discrete shots, and then stacking them in photoshop. There are pros and cons to each method, especially since this method takes a whole lot more effort to get the final star trail photo. I’m lookign to do a little camping this summer, so hopefully I can do some more star trail photos. That’s it for now! So, how are you doing?

Chicago by Film…

I took these photos back in August/September of 2012. I had just picked up my first medium format SLR, the Bronica ETRSi, with a few lenses. I was excited to try it out, and because I had a few friends in town, I had some willing subjects.  I really liked how they turned out; the quality turned out pretty nice. These were shot on Kodak Portra 400, 220 film, and photos were developed and scanned by a lab. I made some adjustments in lightroom, but nothing too drastic (one I converted to B&W, because I screwed up the exposure so badly). The Bronica doesn’t have a built in light meter (although, you can buy a prism viewfinder with it built in), but, not to worry, there’s an app for that! I used the light meter app on my iphone to get a good approximation of exposure settings, and it worked really well!

8000NEG0003 8000NEG0006 8000NEG0011 8000NEG0013 8000NEG0014 8000NEG0016 8000NEG0019 8000NEG0026 8000NEG0027 8000NEG0028 8000NEG0001 8000NEG0002